
This is our journey from cargo van to freedom of movement. Follow as we convert a VW LT35 into a comfy place to live.
Floor down and edging strip fitted
I decided on a lino floor similar to Van Dog Traveller, but the process ended up being a little different for me.
I needed new plywood floorboards as the ones that came with my van were too oily. I bought some 12mm 6×4′ plywood from the local wood yard, and had a go at making some. My friend Chris and I spent several days on this; it really helped having a work area to cut the wood away from the van, and we learned a few lessons which I will attempt to share here.
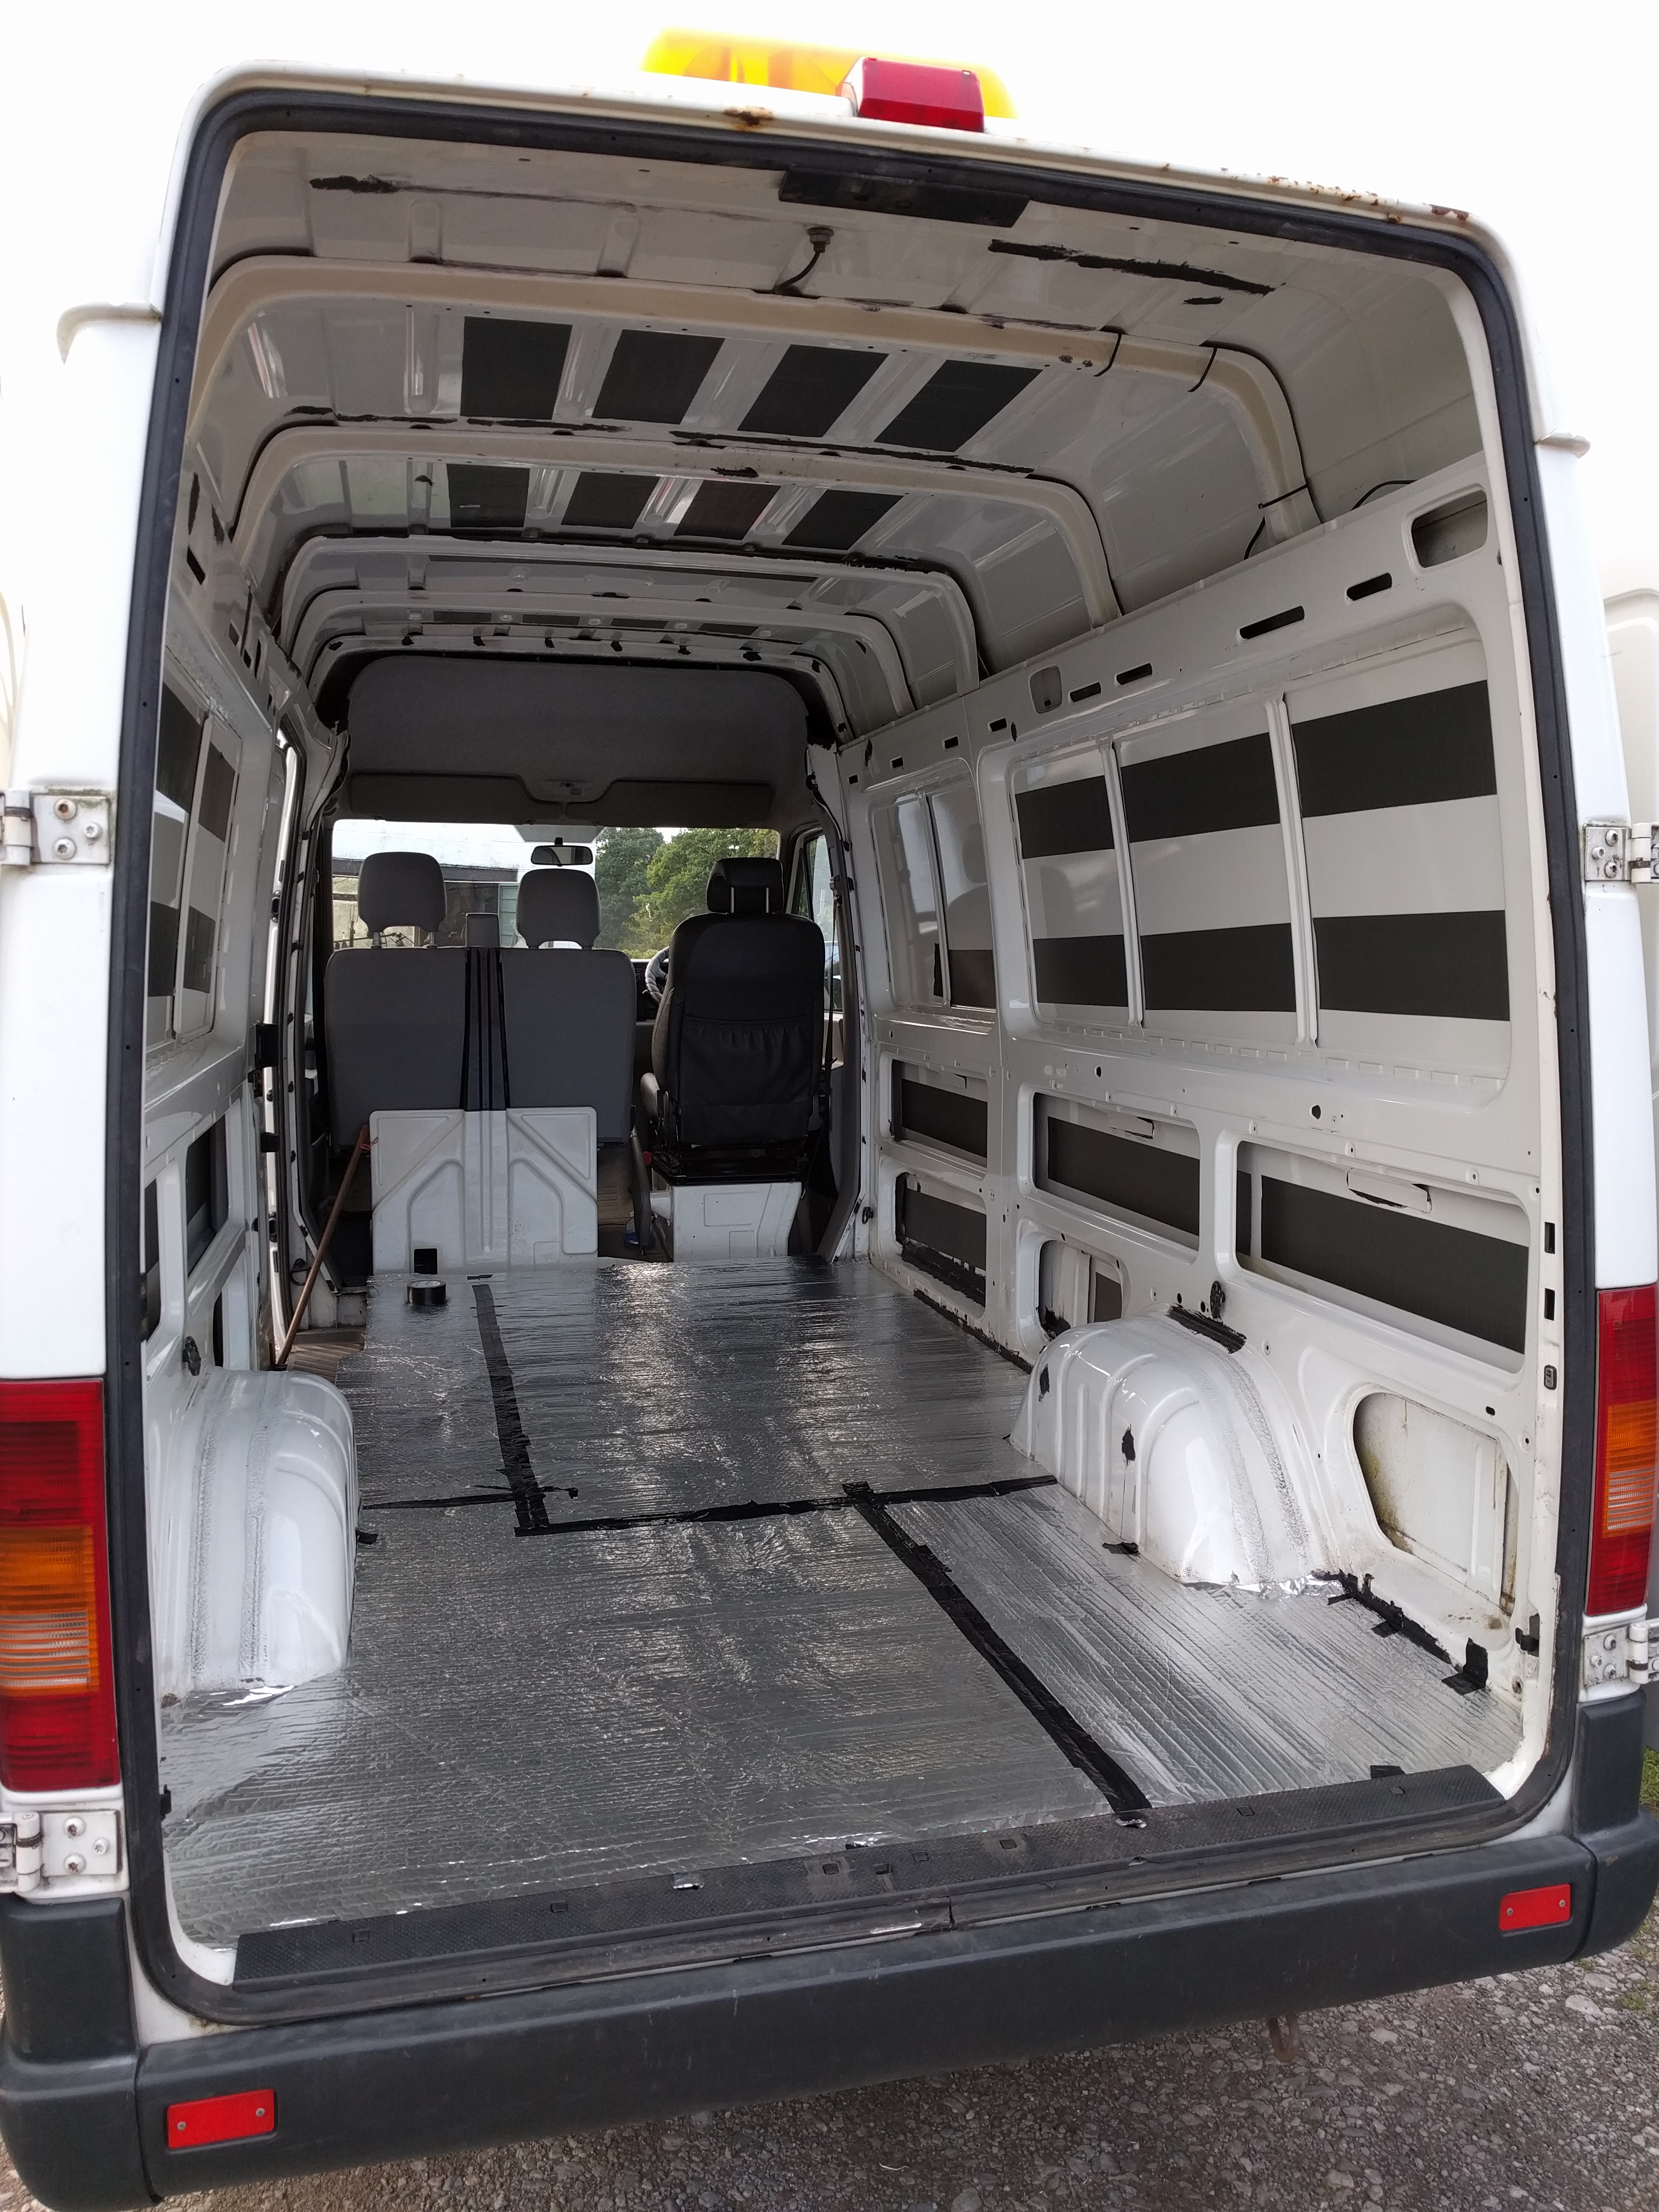
Bubble wrap cut to shape and taped
I had decided to lay down foil-backed bubblewrap underneath the wooden floorboards, so we cut sections of this to fit the shape of the floor, then taped them together. We now had a template!
We took the foil out of the van and laid it on top of the plywood, then drew around it, making sure to leave a small gap around the outside, as it’s better to cut too little than too much.
We then cut around the markings on the wood with a circular saw on the straight edges, and a jigsaw on the intricate sections. After the first cut it was very close, but a little too big to lay flat in the van, so we started a long process of trying the board in the van and observing where it caught on the bodywork, then shaving off material and repeating. Eventually we had a nice tightly fitting floorboard at the back of the van.

Wooden floor cut out and fitted in the van
One of the hardest parts was accurately cutting around the shape of the curved wheelarches, so we cheated on the second board. We placed the first board we had cut out upside down on the second one, and drew around the wheel arch cutout, giving us the correct shape immediately.
At the back of the van, I used a planer to taper the edge of the floorboard, so there was no step between it and the plastic strip at the rear of the van.
For the shape of the sliding door step, we cut out the rest of the front most board and placed it in the van, then drew along the underside of the board with a pen, following the contour of the step.
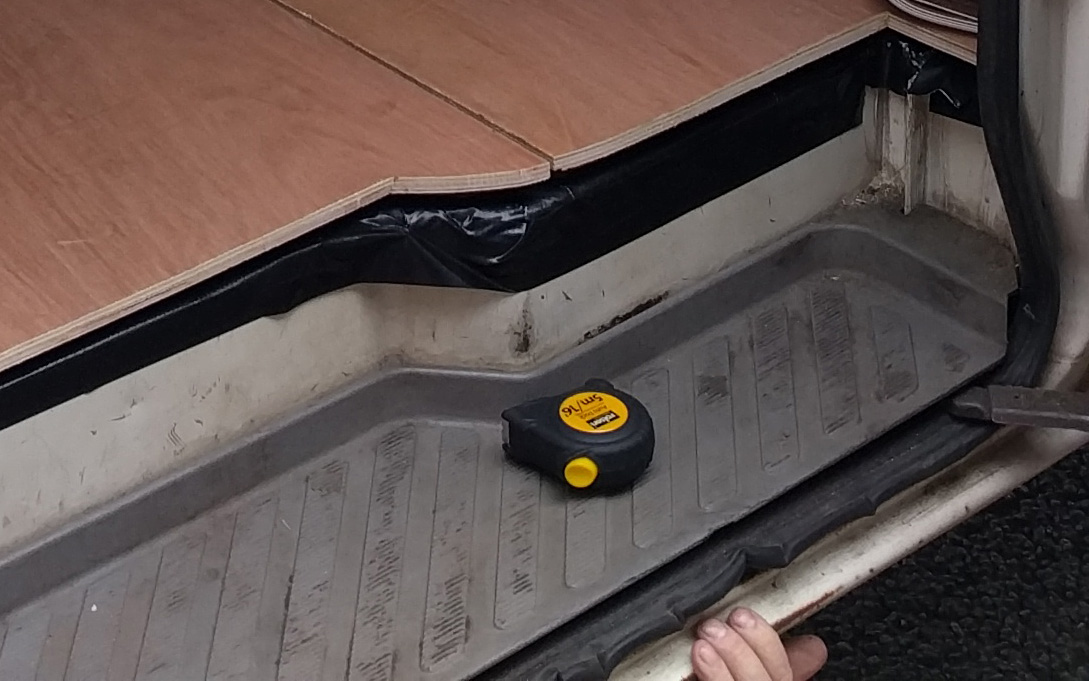
Sliding door step curve, with mystery hand
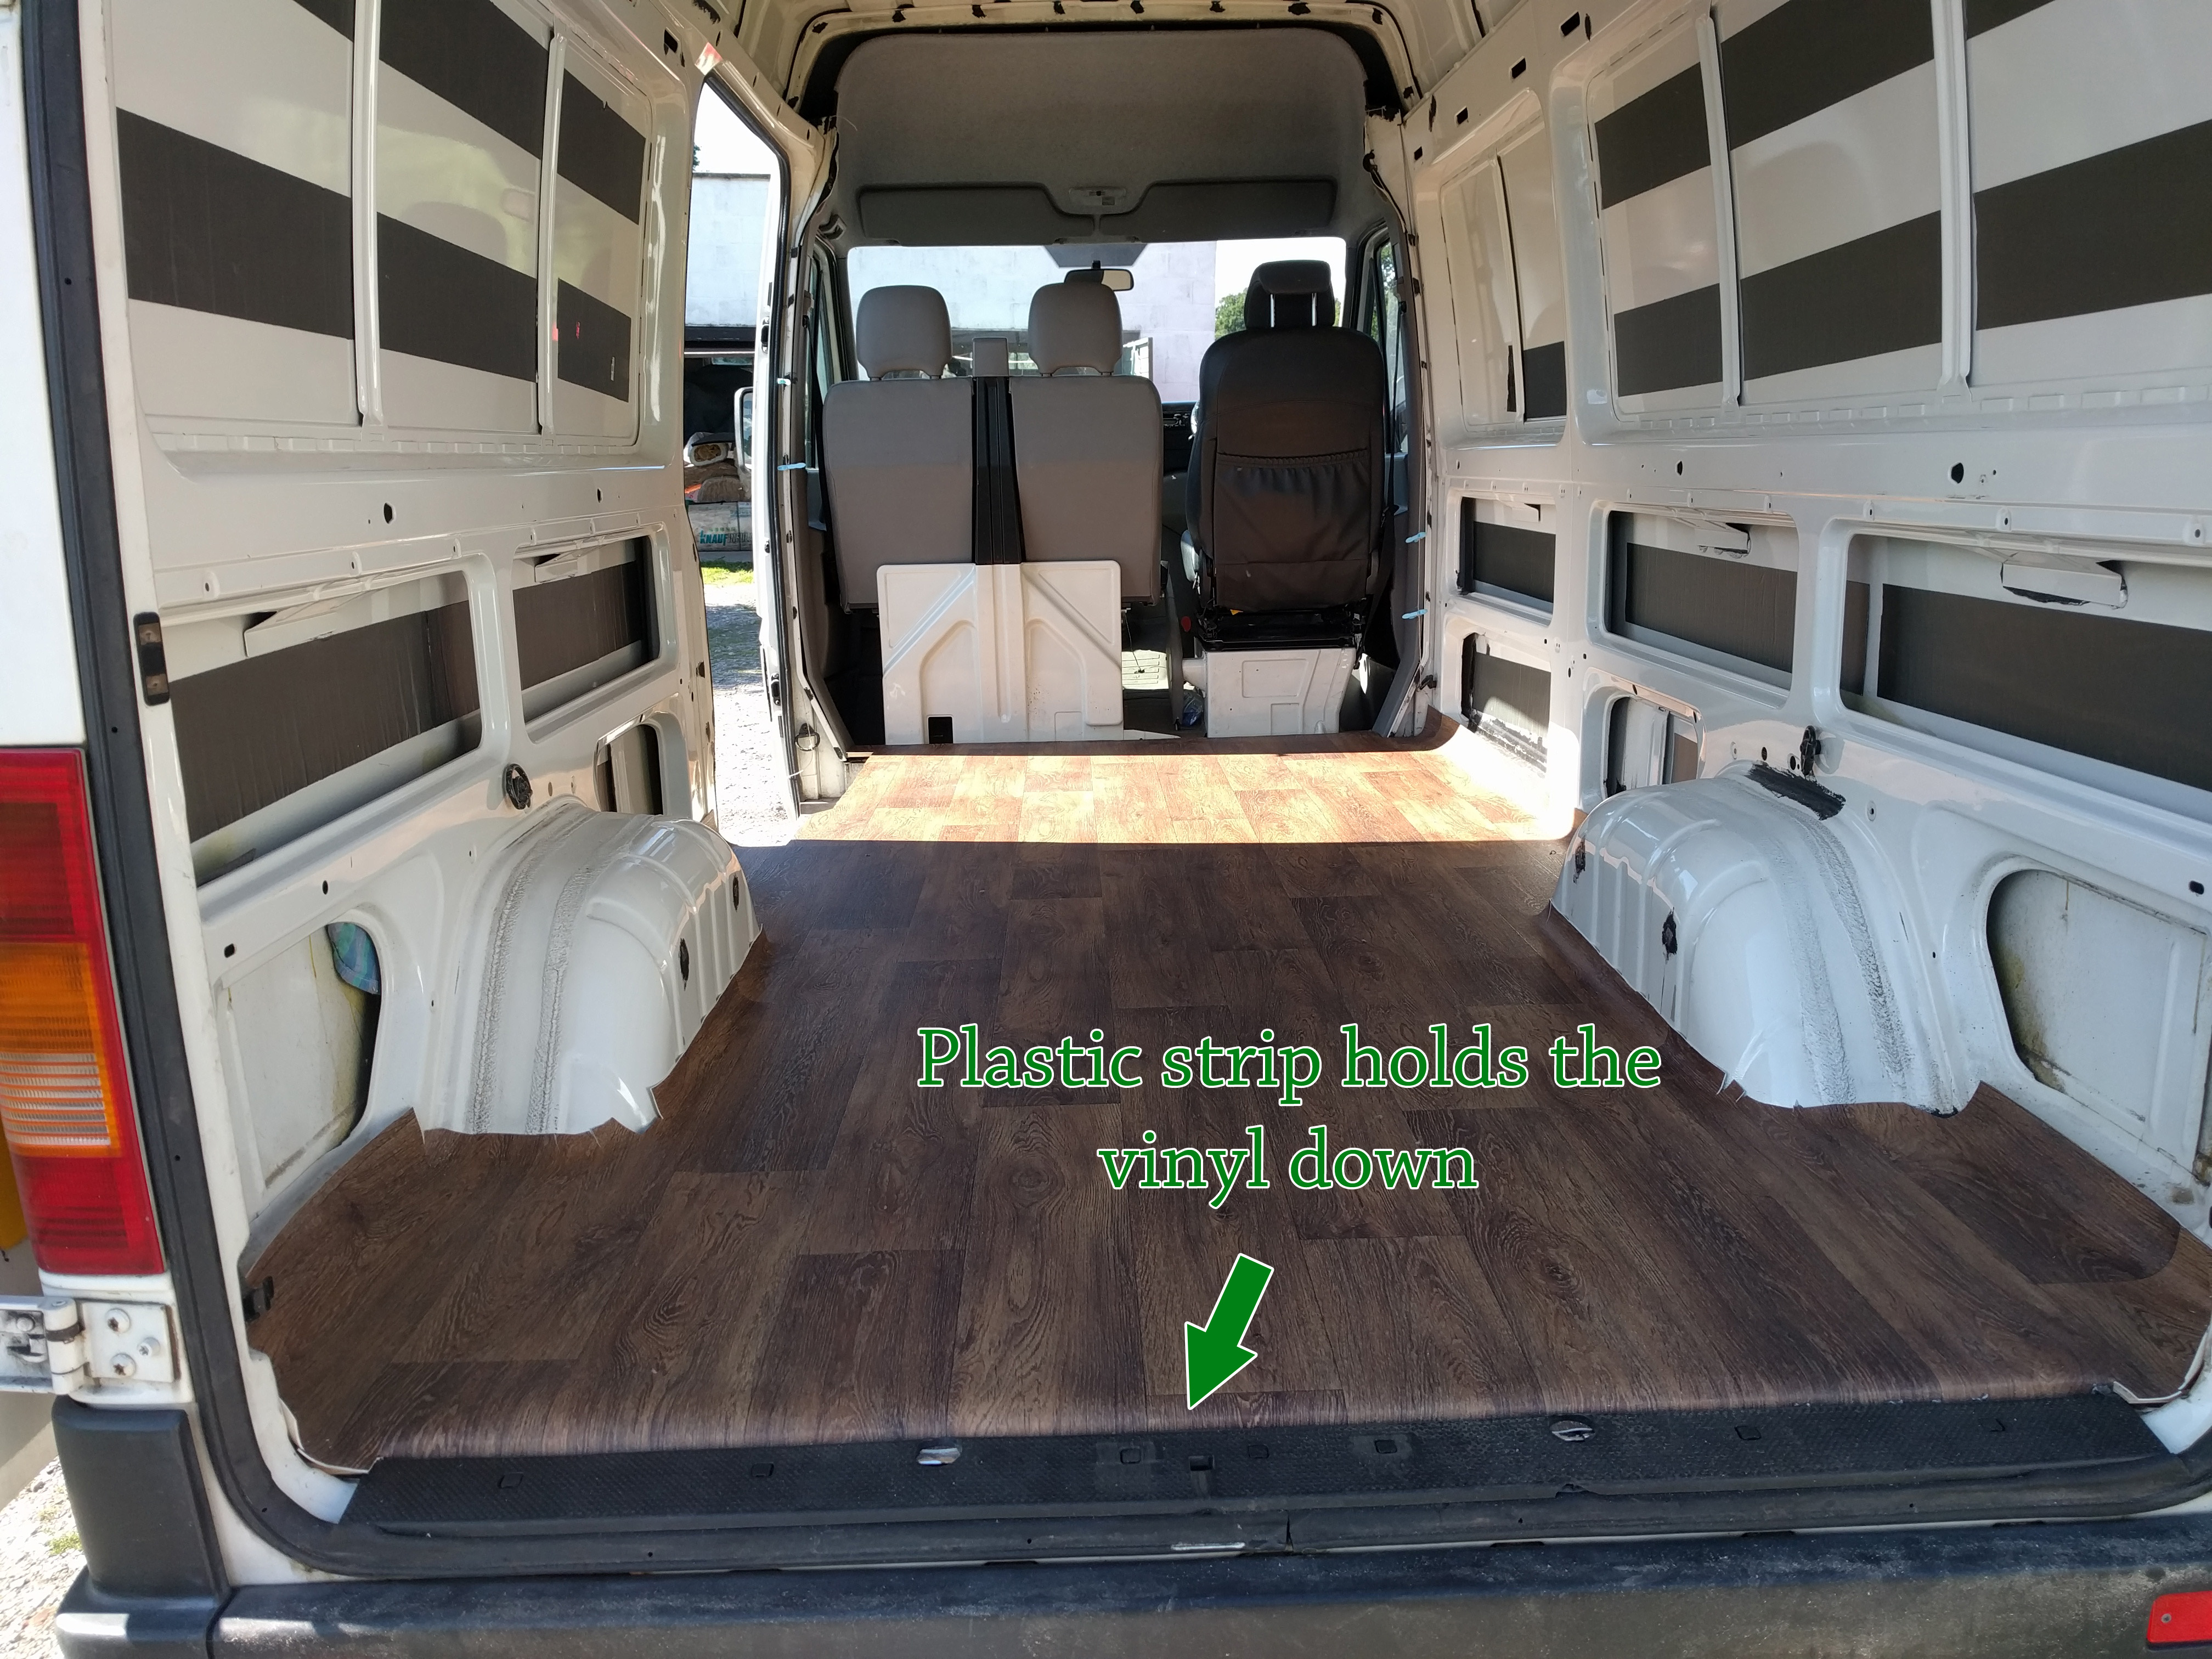
Vinyl floor cut to shape
With a trip to Bug Jam in the van looming, I decided to fit the vinyl floor. I removed the floor boards and foil template, and used the foil again to draw the shape onto the vinyl, then cut it out with scissors. I then rolled out the floor in the van, and made sure it was straight, then set about trimming it to fit. I found the plastic strip at the back of the van holds the vinyl floor down really well!
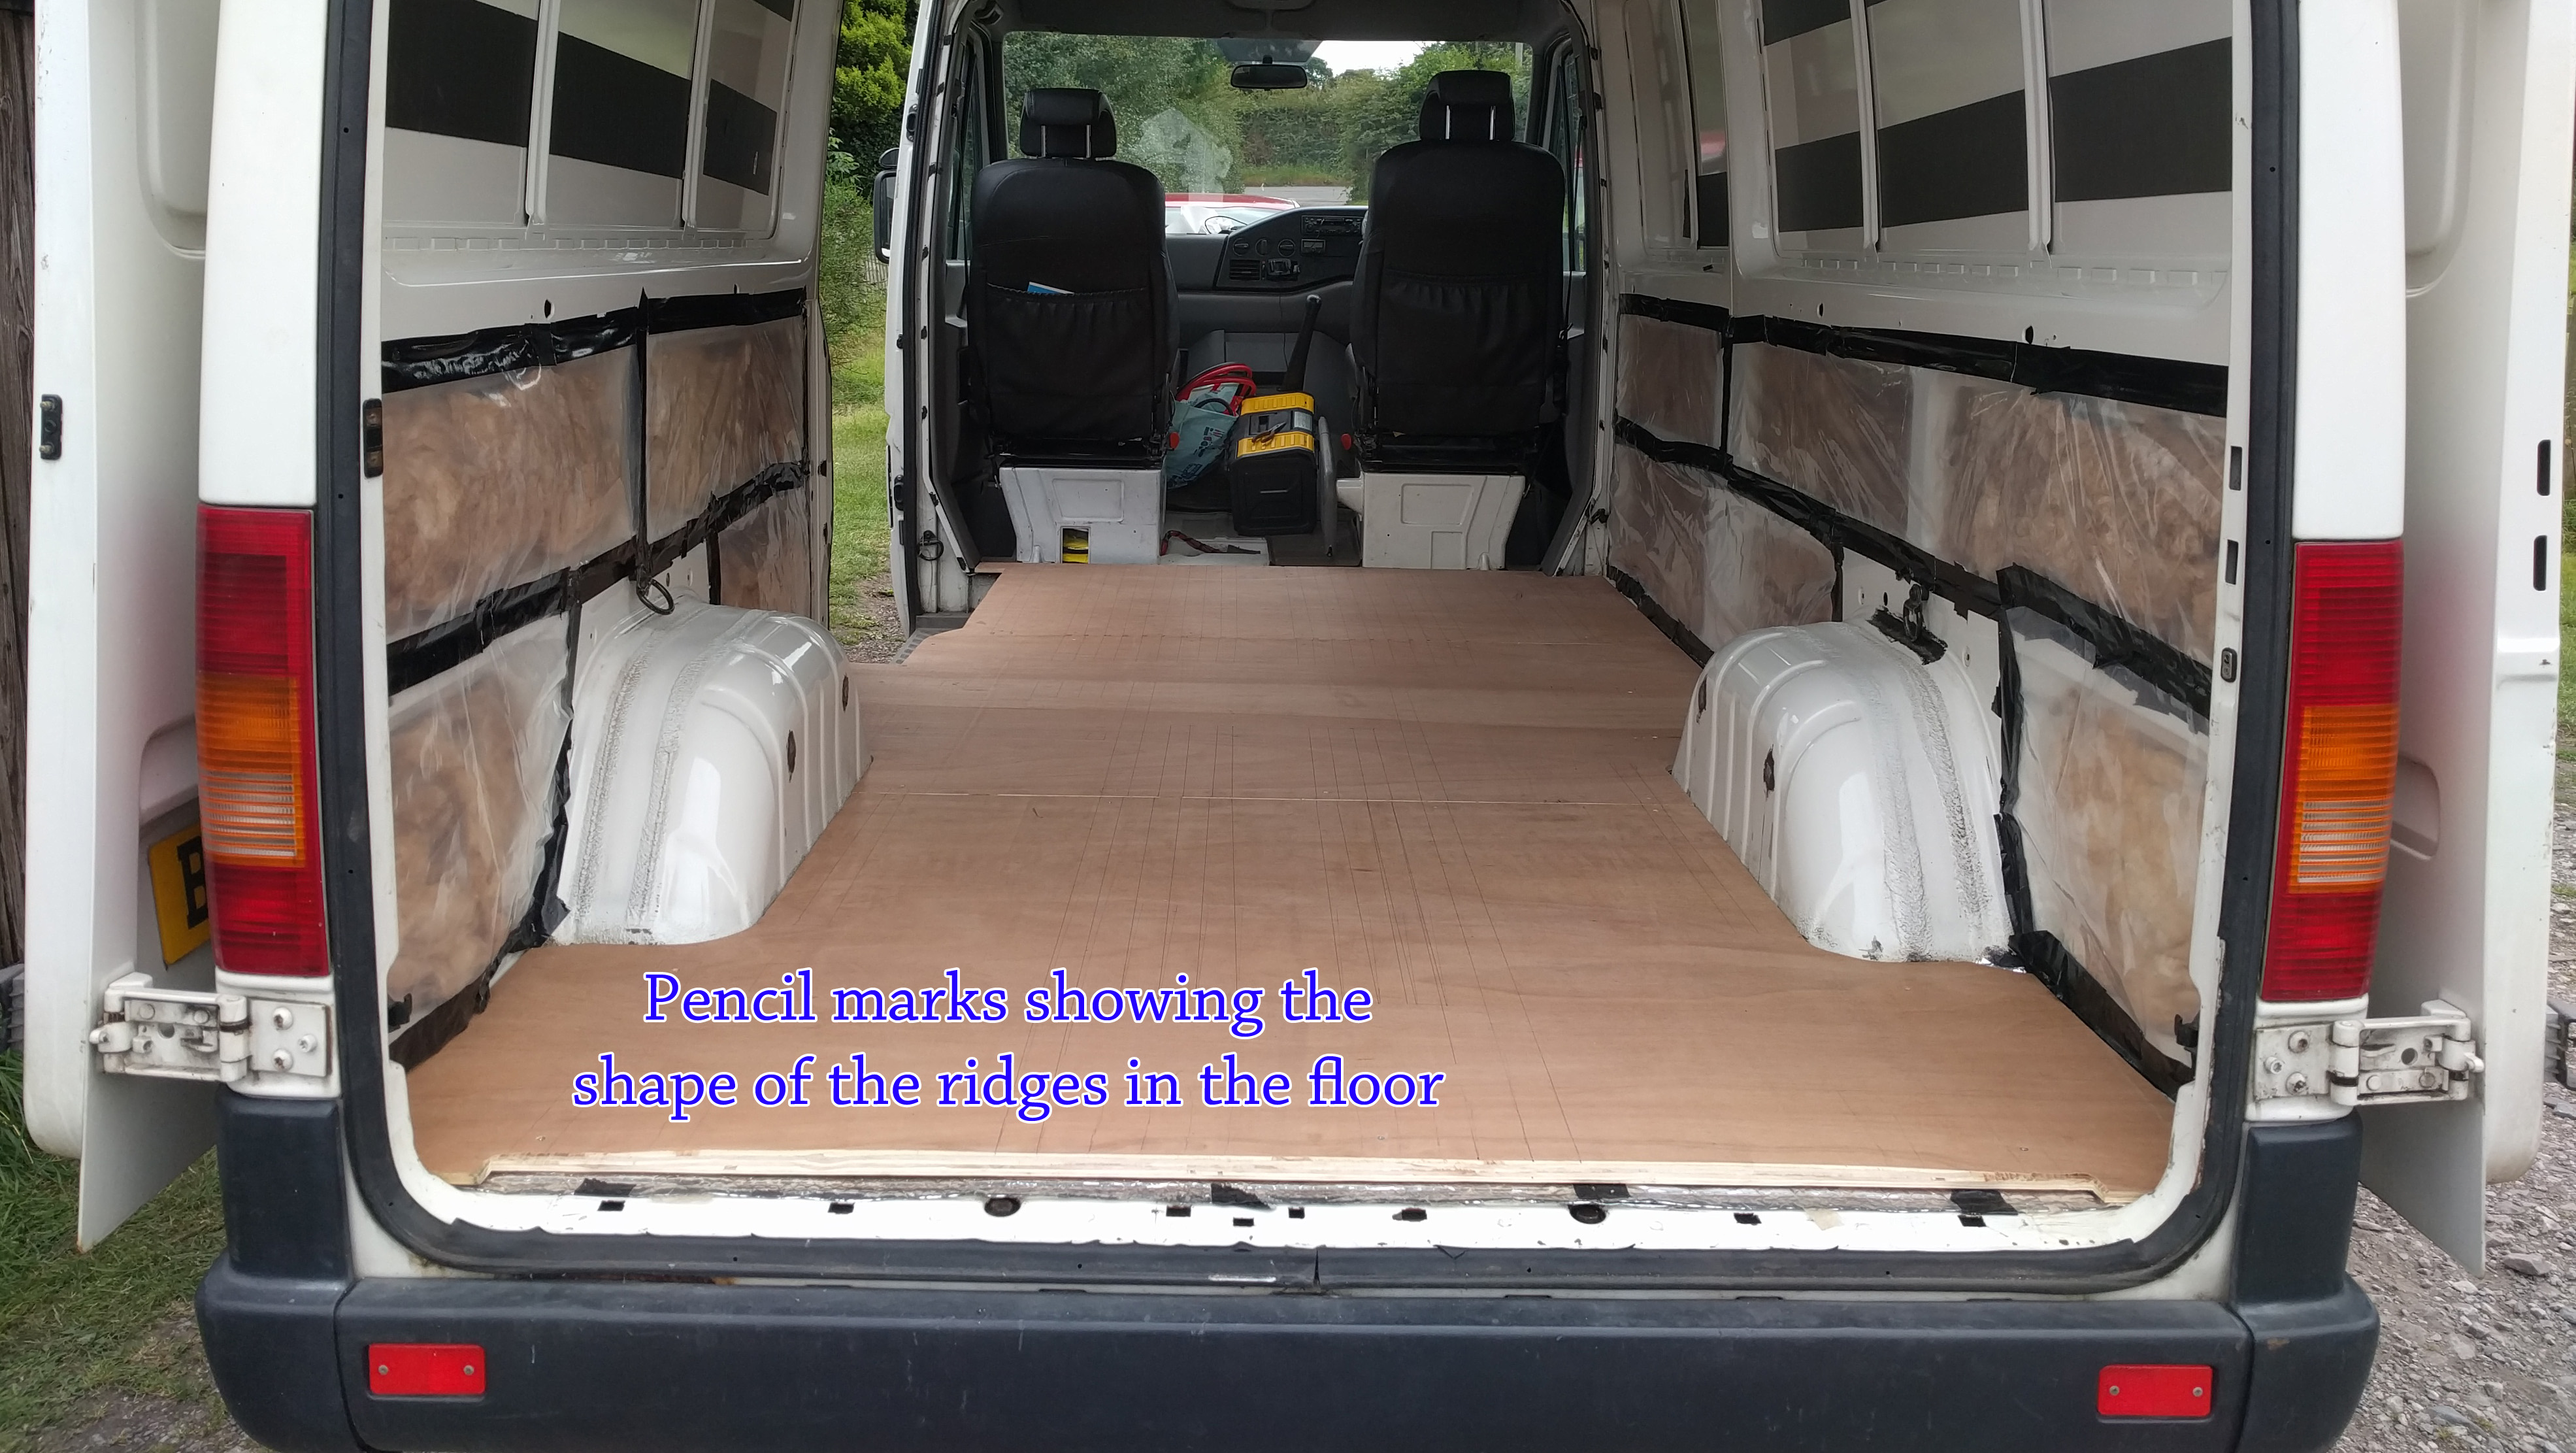
After taking the van to Bug Jam, I screwed the floor down, and attached the vinyl properly. Because the steel floor of the van has ridges running along it for strength, I couldn’t put screws in wherever I liked on the boards, as there are gaps underneath the boards. I decided to place each board in one at a time, and draw a rough plan of the ridges of the floor on the floorboards, so that once fitted I would know where to put in screws.
I then drilled holes straight through the floorboard and van floor, countersunk the holes, and screwed in A4 stainless (marine grade) self-tapping screws. I bought plenty of screws, and kept adding more until the floor didn’t move when I walked on it. Being paranoid about rust (I have a VW beetle), I then went underneath the van and covered the underside of the screws with seam sealer, with the hope that the van floor will not rust around where the holes were drilled.

Fitting the edging strip
I was now ready to attach the vinyl floor. I had originally intended to glue it to the wooden boards, but I found that after fitting the edging strips it doesn’t move at all, with the added advantage that the whole floor is removeable. The bottom of the walls will also hold it down once fitted.
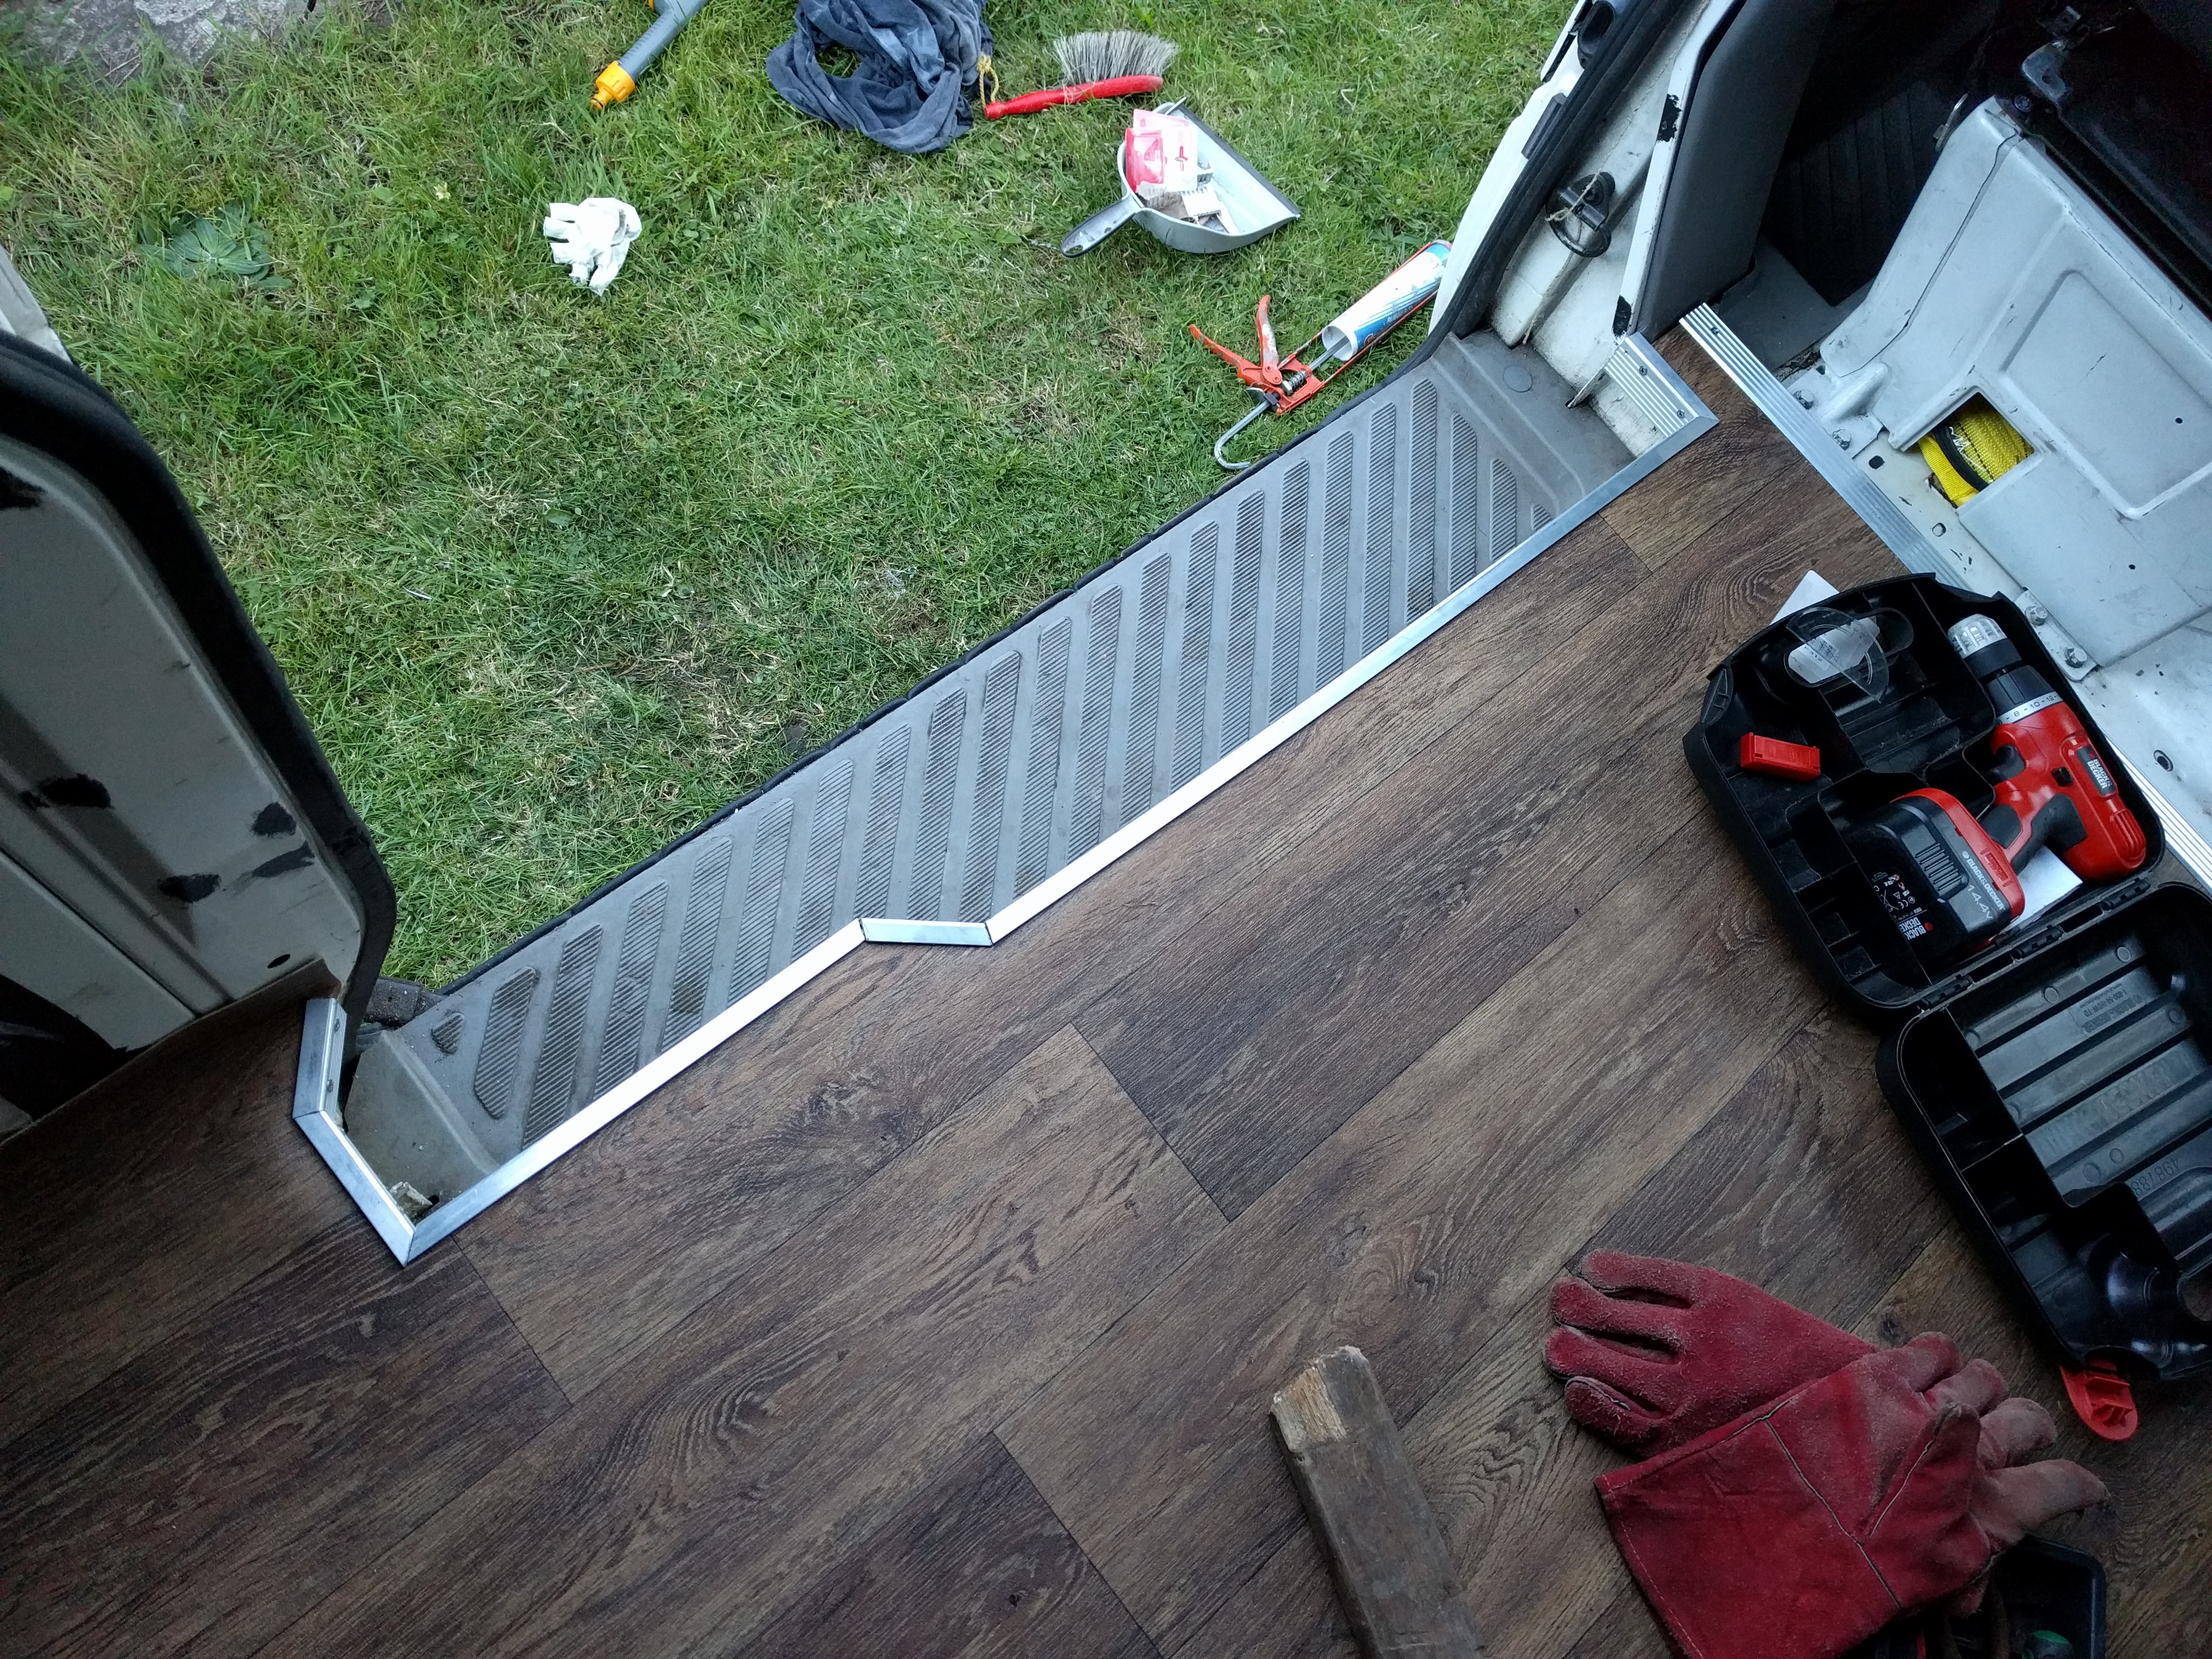
I used some angled aluminium stair nosing to hold the vinyl down in the sliding doorway, and at the front of the floor, just behind the front seats. The front edge was fairly straightforward, I cut the strip to length, and drilled holes straight through it into the wood, then screwed it down with self-tappers.
The sliding doorway was a bit more challenging, the angles were all different, and it took me a few hours with a protractor and angle grinder to get all the pieces to line up nicely. Because of the curvature of the floor, I had to screw into the steel floor in some sections, and the edge of the wooden floor in others. I then finished it off with some silver silicon sealant, to fill the gaps.
After doing this I think the biggest lesson I learned was to take my time at all stages – it’s worth it in the end.
Materials used:
Let me know if you have any comments below!
Hi James,
As far as I remember, I used gauge 10 self tapping screws, with counter sunk heads.
Good luck with your project!
Hi,
Many thanks for sharing your info on fitting your van floor. It looks as though you did something very similar to what I am trying to do with my VW Crafter conversion project so this has been really useful for me. Just wondered what size screws you used to secure the plywood to the van floor? Any help you can give on this would be much appreciated.